Create an Account
To start using Sulu Hub, you need to create an account. You will need an email address and a password.We are in the process of adding new sign in methods.
Soon you will be able to sign in with other providers like Google and Github.
1
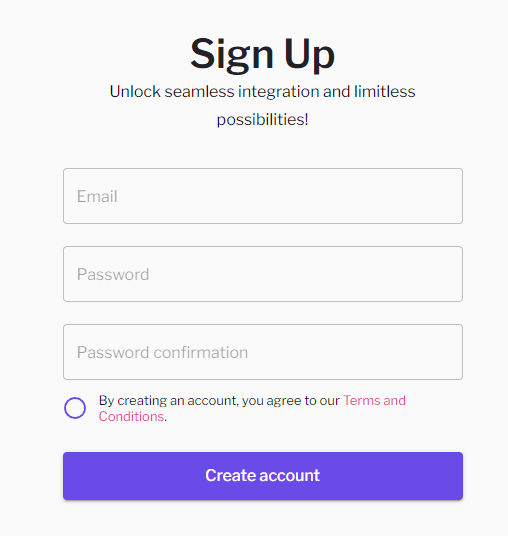
Navigate to the Sign Up page
Go to the Sign Up page on the Hub platform.
Fill up with your email and password, and accept the Terms and Conditions.
2
Verify Email
You will receive a verification email. Check your Spam folder if you do not receive it within 5 minutes.Please follow the onscreen instructions to verify your email
address and gain access to the Hub platform.
3
[Optional] Update your Details
Navigate to your Profile page and update your details.
It should only take 2 minutes, literally!This will help us pre-populate fields such as billing details etc. Plus it helps us to get to know you better!
4
You are good to go! 🚀
Topping up your Wallet
To use APIs, you need to have a balance in your wallet. Sulu uses a credit-based system where you pay for each API call you make. With a single wallet, you can pay for all your API calls. For more details on how Sulu’s credit system works, check the Credits page.1
Go to your Developer Dashboard
On the navigation bar, click on the Developer link.
This will take you to your developer (API consumer) dashboard. Here is where you can keep track of everything including:
- API usage
- Wallet balance
- Top ups and statements
- Request metrics
2
Navigate to the Billing > Credits page
Go to the Credits page on your Developer Dashboard.
You will see your current balance and a button to top up your wallet.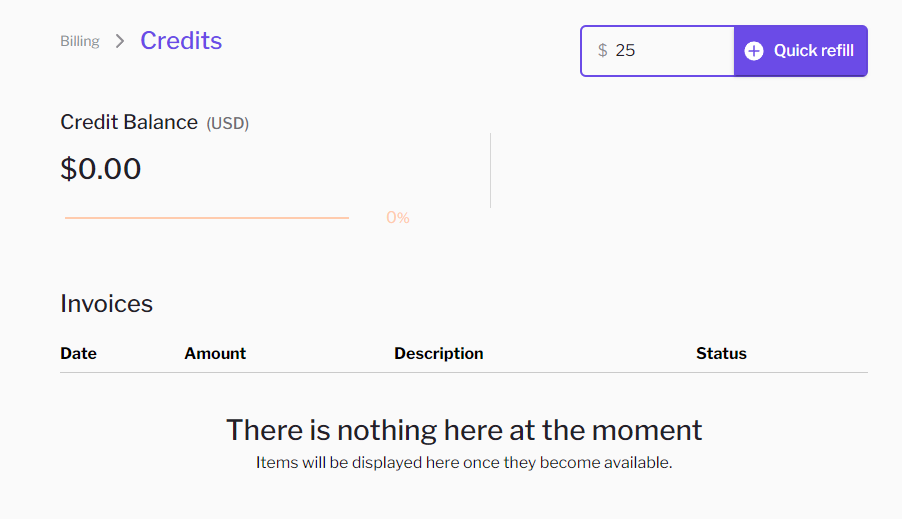 To proceed, click on the Quick Refill button.
To proceed, click on the Quick Refill button.3
Enter your Payment Details
After clicking on the Quick Refill button, you will be taken to the payment page.
We support multiple payment methods, including credit/debit cards and Bitcoin Lightning.
If it is the first time topping up, you will be asked to select a payment method.Follow the onscreen instructions to complete the payment process.
The payment method you select will become the default one.
You can change this or select a different payment method in the future
by going to the Payment Methods page.
Allow Stripe to remember your payment details for faster checkout next time.
4
Verify Successful Payment
If everything goes well, you should be redirected to the credits page with a successful top-up message.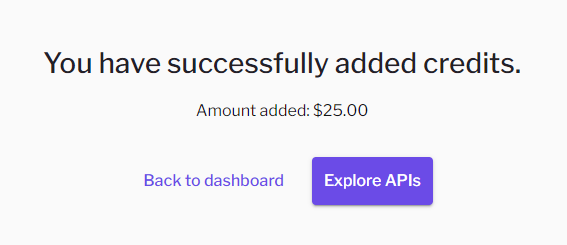 Congratulations! You are now ready to use the Hub APIs.
If you go back to your dashboard, you will see your updated balance.
Congratulations! You are now ready to use the Hub APIs.
If you go back to your dashboard, you will see your updated balance.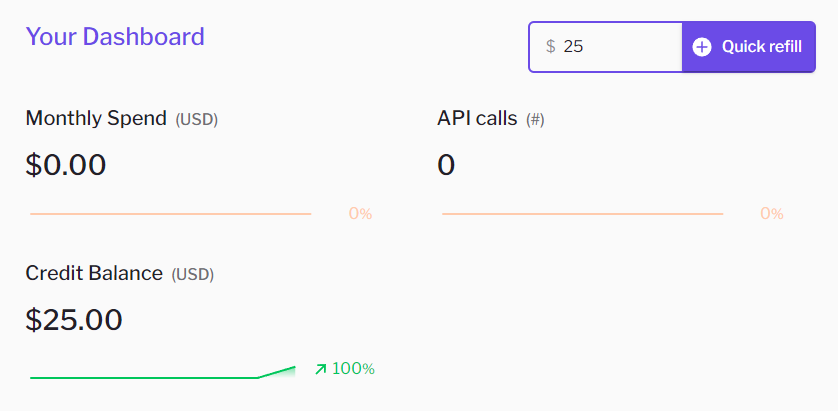
Congratulations! You are now ready to use the Hub APIs.
If you go back to your dashboard, you will see your updated balance.5
Get your Auth Key
Now that you have a balance in your wallet, you can start using the APIs.
To do that, you need an 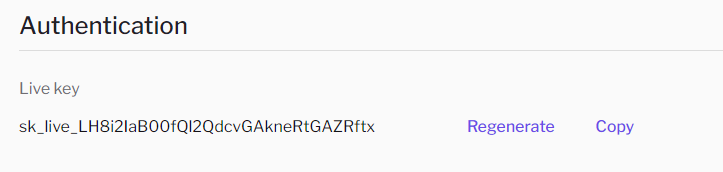
API Key.In the Sulu Hub, we use a single API key for all your API calls. You can find your API key on the Developer Dashboard,
under the Authorization section. You will need this for the next section.6
You are all set and loaded! 🤑
Use an API
We are ready to use an API! We will use the httpbin API as an example. This is a popular API to test HTTP requests and responses. It is developed and maintained by the httpbin.org team. If you like it, make sure to check them out! You can find the API documentation here, or by looking for it in the API Catalog. When you click on an API, you will see the API documentation. For more details on the API documentation, checkout our dedicated page. For now, lets make a request to the/json
endpoint of the httpbin API.
1
Find the /json Endpoint
On the left side bar, navigate to the
/json endpoint of the httpbin API. You will find it under the
Response Formats sub-section of the endpoints.2
Setup a sample request
You will see the API documentation for the 
/json endpoint.
This endpoint returns a JSON response with some basic information.
You can see the request URL, the request method, and the response schema.You can also try the API directly from the documentation page. To do this, we need to add the Authorization header to the request.3
Send the request
Click on the Send API Request button to send the request.If everything goes well, you will see the response from the API.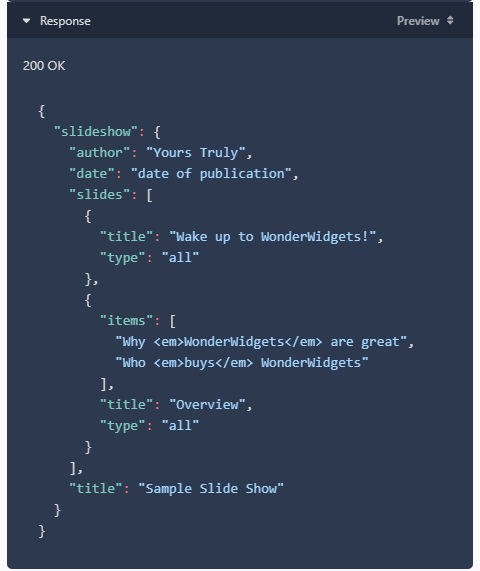 Congratulations! You have successfully made your first API call on Sulu 🙌.
Every request you make will be spending credits, even if only a small amount.
Congratulations! You have successfully made your first API call on Sulu 🙌.